How to Install a Pizza Stone for Perfect Kamado Grill Pizza Nights
If you’ve ever dreamed of baking restaurant-quality pizza at home, mastering how to install a pizza stone in your kamado grill is the first step. Cooking pizza on a kamado delivers an unbeatable crust with that signature wood-fired flavor, but the secret lies in getting your pizza stone setup just right. With the correct technique, you’ll mimic a brick oven’s even heat distribution, crisp up the bottom without burning, and bring authentic pizzeria results to your backyard.
What a Pizza Stone Does (and Why It Works)
A pizza stone is more than just a baking surface—it’s the heart of kamado grill pizza setup. By absorbing and radiating heat evenly, it ensures your dough bakes uniformly while locking in moisture for a soft interior and crispy exterior. The porous ceramic surface also draws excess moisture away from the crust, preventing sogginess. In essence, it transforms your grill into a high-heat pizza oven without the risk of burning the bottom before the toppings are ready.
Choosing the Right Pizza Stone Setup
Your pizza stone should match the diameter of your grill for optimal results. Too small, and heat escapes unevenly; too large, and you risk restricting airflow. Always pair your stone with a heat deflector to protect it from direct flames and prevent scorching. For mid-size kamados, the 16-Inch Vessils Heat Deflector Stone for Classic M Kamado is ideal. Learn more about placement in the Kamado Grill Heat Deflector Use Guide.
Step-by-Step: Installing a Pizza Stone in a Kamado Grill
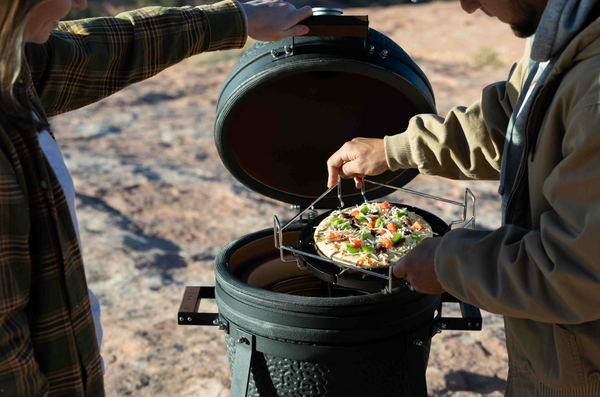
Start by preheating your kamado grill to a dome temperature of 500–600°F. Insert your heat deflector on the fire ring to block direct heat. Place your cooking grid for stone support above the deflector. Center the pizza stone on the grid, close the dome, and allow the stone to preheat for 15–20 minutes. This step ensures your stone reaches the right surface temperature for an evenly baked crust.
Pro Tip: Let the Stone Come to Temperature
One of the most important ceramic grill pizza tips is to avoid thermal shock. Placing a cold stone into a blazing-hot grill can crack it instantly. Always install the stone while the grill is cold and bring them up to heat together. Similarly, never place cold dough on a cold stone—preheat the stone fully before loading your pizza.
Monitoring and Maintaining Ideal Pizza Temps
For the best results, aim for a dome temperature of 500–550°F and a stone surface temperature of around 475°F. This combination delivers a crisp crust and perfectly melted toppings. Use your grill’s built-in thermometer or a smart probe for precision, as covered in How to Control Temperature in a Kamado Grill.
Pizza Placement Tips
A pizza peel is your best friend when baking pizza in a kamado grill. Dust it lightly with cornmeal or use parchment paper for easy transfers. Keep toppings moderate to avoid a soggy center, and rotate the pizza halfway through cooking for an even bake.
Common Mistakes to Avoid
Stone placement is critical—keep it far enough from the direct flame to avoid hotspots. Skipping the heat deflector is another common misstep, as it can lead to burnt crusts. Patience is key: never rush the preheating process. And always “burp” your kamado before fully opening the lid to prevent flare-ups from the sudden rush of oxygen.
Bonus: Beyond Pizza – Other Stone Uses
Your pizza stone isn’t limited to pies. Use it to bake flatbreads, cookies, or dessert pizzas. You can even experiment with recipes like Kamado Grilled Chocolate Lava Cakes or roasted vegetables, as outlined in How to Setup for Roasting on a Kamado Grill.
Conclusion: Nail the Stone Setup, Elevate Your Pizza Game
Installing a pizza stone the right way—paired with a heat deflector and proper preheating—turns your kamado into a high-performance pizza oven. The result is an authentic crust, balanced toppings, and the joy of pizza night without leaving home. Explore our Grill Parts & Accessories or browse All Kamado Grills to get the perfect setup for your backyard pizzeria.