How to Fire Up the Kamado for the First Time | Vessils Kamado Grill Startup Guide
Introduction: Your First Kamado Experience Starts Here
Firing up your Kamado grill for the first time is a milestone every grilling enthusiast remembers. With Vessils, you’re about to unlock a new level of flavor, control, and versatility. This guide on how to fire up the Kamado for the first time will walk you through every step, ensuring you start your grilling journey with confidence and success.
Step 1: Gather Your Essentials
Before you begin, make sure you have:
-
Vessils Kamado grill (fully assembled-see the Vessils User Manual Hub for detailed setup)
-
Natural hardwood lump charcoal (recommended for clean burns and authentic flavor)
-
Fire starters (non-petroleum based; avoid lighter fluid)
-
Long matches or a grill-safe lighter
-
Grill tools (tongs, gloves, thermometer)
-
Ash tool (for easy cleanup)
Step 2: Clean and Prepare the Grill
A clean grill ensures proper airflow and stable temperatures. Remove any packing materials, wipe down surfaces, and check that the vents and firebox are clear of debris. Before every cook, Vessils recommends heating the grill to 500°F for 30 minutes, then brushing the grates to remove any residue-no soap or harsh chemicals needed.
Step 3: Add Charcoal
-
Open the Kamado’s lid and bottom vent fully.
-
Pour natural lump charcoal into the firebox, forming a mound in the center. For your first cook, fill the firebox about halfway-this provides plenty of heat and lets you practice temperature control.
-
Arrange larger chunks at the bottom for longer burns, with smaller pieces on top for quick ignition.

Step 4: Place and Light Fire Starters
-
Nestle one or two non-petroleum fire starters into the charcoal mound. Avoid lighter fluid, as it can taint flavors and damage the ceramic.
-
Light the fire starters with a long match or grill-safe lighter.
-
Leave the lid open and bottom vent fully open for about 10–15 minutes, allowing the fire to establish and the charcoal to catch.
Step 5: Manage Airflow and Preheat
-
Once the charcoal is glowing and ashed over, close the lid.
-
Set both the top and bottom vents to about halfway open to build heat. Monitor the temperature using the built-in or digital thermometer.
-
As you approach your target temperature, adjust the vents to about 1/4 open to stabilize. Remember, it’s easier to increase heat than to lower it, so approach your desired temp gradually.
-
Allow 20–30 minutes for the ceramic walls to fully preheat-this ensures even cooking and reliable temperature control.
Step 6: Ready to Grill
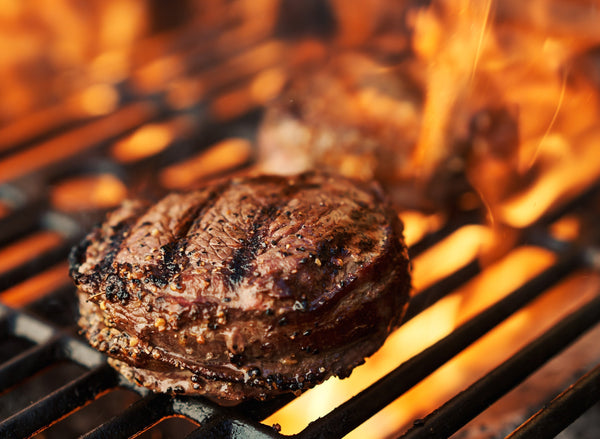
Once your Kamado is preheated and holding steady, you’re ready to cook. Arrange your food with space between items for proper airflow. Keep the lid closed as much as possible to maintain stable temperatures-every time you open it, heat escapes and recovery takes time.
Expert Tips for First-Time Kamado Lighting
-
Always use natural lump charcoal for best results and easy relighting.
-
Avoid lighter fluid; it can permanently affect the flavor and ceramic.
-
Practice vent adjustments-small changes make a big difference in temperature.
-
Monitor temperature closely during your first few cooks to learn how your Vessils Kamado responds.
-
Clean out ash regularly to maintain airflow and performance.
For more detailed assembly, maintenance, and grilling tips, visit the Vessils Kamado Grills Collection and Vessils User Manual Hub.
Safety and Further Learning
For safe grilling practices, always follow USDA grilling safety guidelines. If you want to see different lighting methods in action, check out this YouTube guide to Kamado lighting techniques.