How to Add Adjustable Air Vents on Your Kamado
If you’ve ever struggled to keep your grill at the right temperature, you already know how important airflow is. Adjustable air vents are the secret to precise heat and smoke control—whether you’re searing steaks or smoking ribs. Poor airflow can cause temperature spikes, flare-ups, or even snuff out your fire entirely. Adding or upgrading vents is a smart DIY grill airflow control project that can transform how you cook.
Understanding Grill Airflow Systems
Most grills use a two-part vent system:
-
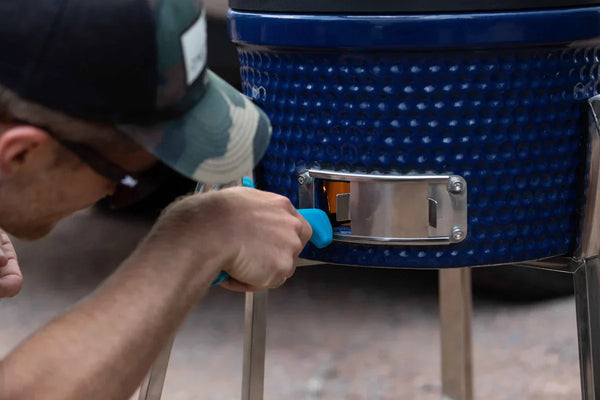
Bottom Intake Vent – Controls how much oxygen feeds the fire.
-
Top Exhaust Vent – Regulates how heat and smoke escape.
The balance between these two determines cooking temperature, burn rate, and smoke flavor. Learn more in How to Control Temperature in a Kamado Grill and How to Improve Airflow in Kamado Grills.
Can All Grills Be Modified?
-
Kamado grills – Most come with vents, but you can upgrade them for better precision. See our All Grills Collection.
-
Metal charcoal grills – Easiest to retrofit with new vents.
-
Gas grills – Not recommended for airflow modifications due to design and safety concerns.
Tools and Materials Needed
-
Adjustable vent kit or metal plates
-
Heat-resistant sealant
-
Drill with metal or ceramic bit (depending on grill type)
-
Protective gloves, ruler, pencil, wrench
Step-by-Step: Adding a Bottom Air Intake Vent
-
Mark the Location – Choose a spot that allows air to flow directly into the charcoal area.
-
Drill Starter Holes – Use the correct bit for your grill’s material.
-
Cut the Vent Opening – Follow the size recommended by your vent kit.
-
Attach the Vent Plate – Secure with screws and tighten gently.
-
Seal the Edges – Apply heat-resistant sealant to prevent leaks.
Step-by-Step: Adding or Upgrading a Top Exhaust Vent
-
Choose Vent Size – Match the diameter to your grill dome.
-
Remove Old Vent – Unscrew or detach the original unit.
-
Install the New Adjustable Vent – Ensure smooth open/close function.
-
Check the Seal – Make sure it fits snugly to avoid heat loss.
Best Practices for Vent Use After Installation
-
Bottom Vent – Controls oxygen flow and fuel burn rate.
-
Top Vent – Adjusts heat escape and smoke retention.
Even small tweaks can cause big changes. Learn more in Air Flow Deep Dive: Controlling the Temperature of Your Kamado Grill and Fire Management for Grill Masters.
Complementary Modifications to Improve Airflow
-
Charcoal baskets – Using Charcoal Baskets for Better Heat Control
-
Heat deflectors – Kamado Grill Heat Deflector Use Guide
-
Temperature probes – Adding Temperature Probes and Smart Thermometers (coming soon)
-
Charcoal Plate for Vessils 13 Kamado for better burn control
Common Mistakes to Avoid
-
Blocking vents with ash buildup
-
Over-tightening vent plates, which can warp metal
-
Misaligning vent seals, leading to air leaks
-
Adding too many vents and losing heat control
Conclusion: Take Control of Your BBQ Game
Installing adjustable air vents is an easy, cost-effective upgrade that can make a huge difference in your grilling results. With better airflow, you’ll master both low-and-slow smoking and high-heat searing.
Browse our Grill Parts & Accessories Collection for DIY airflow solutions, or check out Kamado Grills with Venting Options if you’re ready for a built-in airflow upgrade.