DIY Table or Stand for Kamado Grills: Build Your Perfect Outdoor Cooking Station
Crafting Your Ultimate Kamado Hub
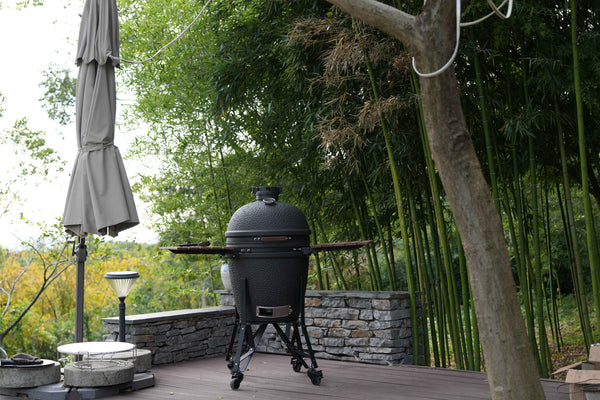
Few joys in life rival the experience of outdoor cooking on a kamado grill, but busy pitmasters and weekend grillers alike know the importance of a practical, attractive workspace. A purpose-built DIY kamado table or grill stand transforms your patio, blending functionality with style and making every cook more enjoyable.
A custom grill table allows you to tailor features—like prep space, storage, and integrated accessories—to your specific needs and the dimensions of your favorite kamado grill. With the right plan, you can enhance safety, workflow, and aesthetics all at once.
This guide covers everything you need to design and build your own outdoor cooking station or kamado cabinet, helping you create a grill setup that truly complements the Vessils grills lineup.

Why Build a DIY Kamado Table or Stand?
Customization
-
Choose the exact dimensions, shape, and layout to fit your grill (such as the Vessils Classic Full-Size 19").
-
Add features like drawers, cabinets, shelving, tool hooks (All Accessories), or even integrated side tables (Vessils Side Tables for 27" Kamado).
Cost-Effectiveness
-
Save money compared to pre-built outdoor kitchen islands while getting materials and features that match your budget.
Enhanced Workflow
-
Dedicated prep space and tool organization streamline your grilling process.
Aesthetics
-
Select finishes and materials that complement your outdoor décor.
Durability
-
Build with your local climate in mind, ensuring long-lasting performance.
Planning Your Kamado Table/Stand: Key Considerations
Location
-
Choose a spot near your outdoor entertaining space but away from flammable materials.
-
Consider sunlight, prevailing winds, and rain exposure for comfort and safety.
Materials
-
Wood: Cedar, redwood, and treated pine are popular for their weather resistance.
-
Metal: Powder-coated steel adds durability.
-
Countertop: Tile, granite, concrete, or stainless steel for easy cleaning.
-
Insulation: Fire-resistant materials such as cement board or ceramic tile for the grill cavity.
Size and Dimensions
-
Measure your kamado grill (diameter and height) for a proper fit.
-
Plan your preferred countertop size, storage solutions, and station footprint.
-
Decide if the stand should be stationary or on wheels for mobility.
Design Features
-
Shelving, drawers, built-in cutting boards, tool hooks, trash bins, or bottle openers.
-
Adequate ventilation around the kamado for safe operation.
Essential Tools and Materials
Tools Needed
-
Measuring tape, pencil, speed square
-
Saw (circular saw, miter saw, jigsaw)
-
Drill/driver
-
Sander
-
Safety equipment (gloves, goggles, ear protection)
-
Optional: Router, Kreg Jig, level
Materials List
-
Lumber (specific wood selection)
-
Screws, bolts, washers, hinges, casters (if mobility desired)
-
Countertop material
-
Outdoor stain, paint, or sealant
-
Fire-resistant liners for the grill cavity
Step-by-Step Construction Guide (General Overview)
-
Design and Blueprint: Sketch or digitally design your custom kamado table, noting each measurement and cut.
-
Cut Lumber: Prepare all wood pieces for the base, frame, shelves, and countertop.
-
Assemble Frame: Construct the framework and supports, ensuring square corners and a level build.
-
Create Grill Cavity: Build an opening for your kamado, lining the area with fireproof material for safety.
-
Install Storage Features: Add shelves, drawers, and accessories for tools ([All Accessories]) or charcoal.
-
Countertop Assembly: Install your preferred counter material for prepping and serving.
-
Finishing Touches: Sand the structure, then apply a protective outdoor finish for longevity.
-
Final Assembly: Place your kamado grill in the opening, secure the table if needed, and attach final hardware (like casters, hooks, or bottle openers).
Safety Considerations
-
Ventilation: Leave space for airflow around the kamado to prevent overheating.
-
Fire Safety: Use non-combustible materials inside the grill cavity.
-
Stability: Ensure your table can support the heavy weight of a kamado grill.
-
Personal Safety: Always wear protective gear when woodworking and assembling your project.
Tips for a Successful Build
-
Measure Twice, Cut Once: Accuracy ensures a professional fit and finish.
-
Pre-Drill Holes: Prevent wood splitting and use appropriate fasteners.
-
Weatherproof Materials: Select outdoor-rated wood and finishes.
-
Test Fit Regularly: Assemble dry (without fasteners) to check alignment.
-
Protect Your Grill: Cover your table and grill with a [Vessils Grill Cover] during bad weather or when not in use.
Enjoy Your Custom Grilling Oasis
A DIY kamado grill table or stand is one of the most rewarding upgrades for any outdoor cooking enthusiast. With planning, smart design choices, and focused craftsmanship, you can create a lasting, beautiful, and functional centerpiece for your backyard.
Share your builds and ideas with the Vessils community, and explore Vessils grills and accessories for the perfect finishing touches to complete your ultimate outdoor cooking setup.