Air Flow Deep Dive: Controlling the Temperature of Your Kamado Grill
When it comes to controlling the temperature of your kamado grill, fuel choice is only half the equation—airflow is the other. From low-and-slow smoking to high-heat searing, the way you manage your vents directly impacts heat levels, cooking consistency, and flavor. Mastering kamado airflow management will transform your grilling game and give you precision control over every cook.
Understanding the Basics of Kamado Airflow
Kamado grills operate using the chimney effect: the bottom vent pulls in oxygen, and the top vent releases heat and smoke. Open the vents wider, and you’ll increase airflow and raise the temperature; close them down, and you’ll slow the burn and reduce heat. For a detailed introduction, see our How to Control Temperature in a Kamado Grill guide.
Bottom Vent vs Top Vent: Who Does What?
Think of the bottom vent as your coarse control—it determines how much oxygen enters the grill. The top vent is your fine-tuning tool, making smaller adjustments to maintain a target temperature. For low temperatures, both vents stay mostly closed; for high heat, both are opened wide.
Best Practices for Different Cooking Styles
Low and Slow (225°F–275°F)
-
Bottom and top vents mostly closed.
-
Use a heat deflector and drip pan to create an indirect cooking environment.
Medium Roasting (325°F–400°F)
-
Open vents slightly more for balanced convection heat.
-
Use a deflector for even roasting. Learn more in How to Use a Heat Deflector in Kamado Grills.
High-Heat Searing (500°F+)
-
Fully open both vents for maximum oxygen flow.
-
Use a direct grilling setup as shown in Kamado Grill Cooking Zones Explained.
Modifying Your Grill for Precision Control
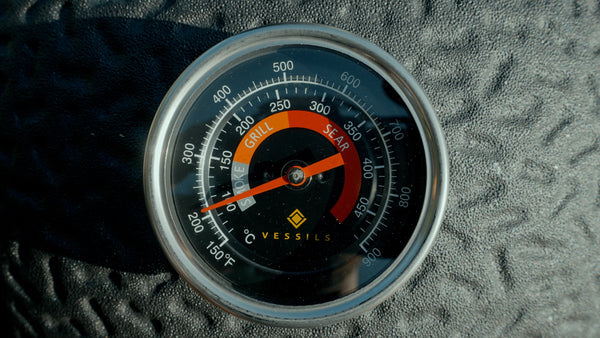
Adding adjustable vents can give you finer temperature accuracy. The Vessils Kamado Air Vent System is a great upgrade for consistent results. Accessories like the Charcoal Plate for Vessils 15 Kamado focus heat where you need it, while the Conquer and Divider System supports two-zone cooking. Raising your cooking grid with the 20-Inch Expandable Cooking Grid can also help manage airflow distance from the fire.
Tips for Lighting the Fire Properly
Airflow control starts before you even touch the vents. Stack your charcoal for optimal burn rate—larger pieces at the bottom, smaller ones on top. Allow your grill to stabilize at the desired temperature before making vent adjustments. Our upcoming post on How to Build a Perfect Fire for Long Cooks will cover this in detail.
Common Mistakes and How to Avoid Them
-
Opening the lid too often, which causes heat loss and spikes.
-
Adjusting both vents at the same time instead of one at a time.
-
Allowing ash buildup to block airflow—use the Grate Lifter – Vessils Grill Tool for quick clean-outs.
We’ll also explore more in Kamado Grilling Mistakes That Ruin Temperature Control.
Best Airflow Settings for Popular Foods
-
Brisket – Low and steady airflow with a heat deflector in place.
-
Chicken Thighs – Medium heat with slightly open vents for crisp skin.
-
Pizza – High airflow for a hot stone and rapid bake.
-
Fish – Gentle airflow with indirect heat to prevent overcooking.
For a complete breakdown, see our upcoming Best Vent Settings for Different Meats.
Conclusion: Make Air Your Secret Ingredient
Perfect temperature control on a kamado grill comes down to understanding how air moves through your cooker. With practice, you’ll be able to dial in your vents for any style of cooking, making airflow your secret weapon for consistent, flavorful results. Explore our Grill Parts & Accessories and All Kamado Grills to upgrade your airflow management tools.